


Maxon’s Redshift 2025
Maxon has released Redshift 2025.3, which offers some really cool tool improvements and enhancements. For those unfamiliar with Redshift, it is a GPU-accelerated render engine that became part of Maxon’s tool suite back in 2019. It’s a PBR (physically-based renderer) that uses biased rendering to optimize what it needs to render. It’s also scalable across multiple GPUs. It provides real-time progressive rendering, which helps for lighting and look development because it immediately starts to show results; as you make changes, and the longer you let it cook, the more detailed the image becomes. Furthermore, it’s essentially 3D software agnostic — Redshift is available for Cinema4D (Maxon’s flagship 3D software), Houdini, 3dsMax, Maya, Katana and Blender.
For this latest release, there is an emphasis on non-photorealistic rendering — some people call it “Toon Rendering.” Some key enhancements include pen and pencil modes to provide a hand-drawn look to the edges, and another is contour tone-mapping, where you can assign patterns or gradients to the outlines for more subtle control of how those outlines are rendered. And with backface contours, you can reveal, and treat differently, the lines that would be hidden behind the model, creating a blueprint or oscilloscope-type look.
Substance materials were already supported, but starting with 2025.3, the scale of the materials will maintain accuracy, even over objects of different sizes. There’s a new Material Switch node that allows you to quickly randomize material parameters with scenes that have many instances of the same object, but you want variation. If you are a Houdini user, you can render USD scenes from the Redshift command line. And for Maya users, Redshift supports the native Standard Surface shader.
Under the hood, Redshift 2025.3 contains some advances in the engine itself. For instance, you have Brute Force caustics for rendering light patterns through translucent surfaces — think of the squiggles you see at the bottom of the swimming pool. There is a Volume Depth AOV pass that is meant to work with VDB volumes such as plumes of smoke and clouds — this is an additional pass rendered for use in compositing later. And Redshift now uses OIDN (Open Image Denoise) denoising, which is a GPU-accelerated, machine-learning-driven algorithm to remove noise from the render but preserving image detail. This is critical in quickly rendering progressive renders, because the final image, depending on the noise and time thresholds you set, can be very noisy — and rendering without noise can be very time-consuming. So implementing the OIDN denoiser is a great addition. And it’s present across all platforms.
I’ve found Redshift gives really nice results, and if you have some rendering machines with beefy GPU cards, you can turn things around quickly. A general GPU word of warning: To take full advantage of the GPUs, the scene has to fit in the RAM on the cards — so get some thick cards or just be cognizant of making your scenes RAM-economical.
Website: maxon.net/en/redshift
Price: $264 (per year)
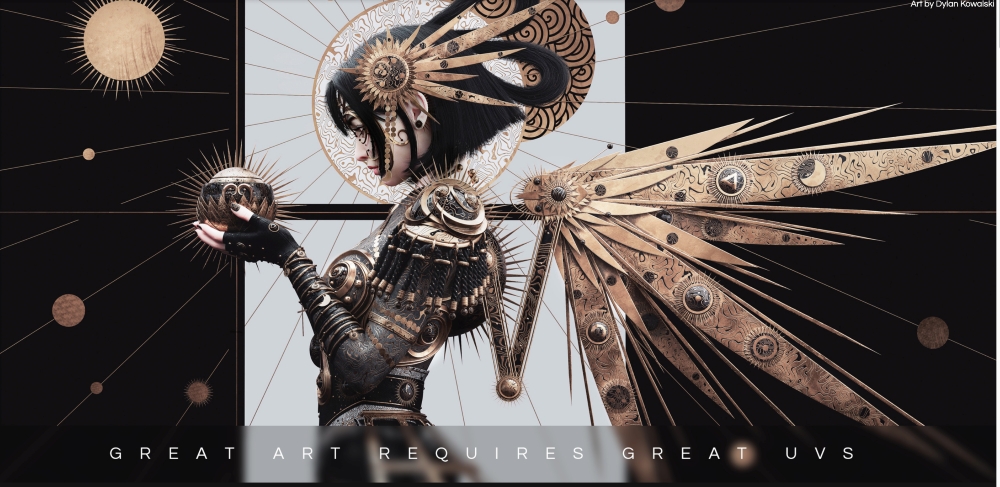
RizomUV
Rizom-Lab released a significant upgrade to RizomUV last summer, the largest update since 2018. And you wonder what could possibly be needed to make UVing easier? The answer is anything that makes UVing easier is a welcome addition. So let’s dive in.
The new version brings a total user interface overhaul. This stems from feedback about how cluttered the interface used to be. In earlier versions, all the tools were present in a vast array of buttons and fields, which can be overwhelming. The new UI collapses those tools into a more contextual situation, so the functions you need for the task at hand are the ones that are exposed. This is helped by a reorganization of the top buttons, so they follow an order of operations per the usual UV workflow — select/cut seams, unfold, pack. Each one of those steps has a properties button that will activate a panel of tools that you need. Not only does this reduce clutter and focus the user on the task at hand but it increases the real estate for working areas.
To further enhance the organization of the UVs, there is a tagging system for UV islands, so you can quickly identify what UV areas are associated with which part of the 3D model, or what kinds of materials the island represents. This will be important for working with hotspots and trim sheets.
This tagged system also applies to trim sheets. So, those unfamiliar with trim sheets in games or mobile 3D apps have to really optimize your memory. One way is to pack a bunch of different textures into one image. All those textures can then be distributed over many objects with that one image. The trim sheets are a way to indicate how that image is divided over the objects. RizomUV has many intelligent tools for distributing your UV islands within the trim sheets that you have set up. But you can manually distribute the islands if that’s your druthers. Or, if you are organized, you can tag the islands (by material, say) and also tag the trim sheet — and you can distribute based on matching tags. These smart methods of putting UV islands into a trim sheet is called “hotspotting” and is new to RizomUV.
Once you get your trim sheets, you can save them as a vector-based SVG image that can be brought back into Rizom to use for other objects. Or it can save the sheets as a color image so you can import them into your painting program and see where the trim sheets are against the UV layout.
For the brainy technical directors out there, Rizom has set up a live link via Python scripts, which allows you to establish an active connection between the 3D software with Python support (which is basically all of them) and Rizom.
Almost all of these are updates in RizomUV — so keep in mind that you still have the fantastic UV tools for cutting seams, unwrapping and organizing UVs that were always there. The indie license is about $15 a month — but it’s not a subscription. You pay over the year, and after the year, you own a perpetual license.
Website: www.rizomuv.com
Price: 14.90 euros ($15.5) per month, 149.9 euros ($155) per year
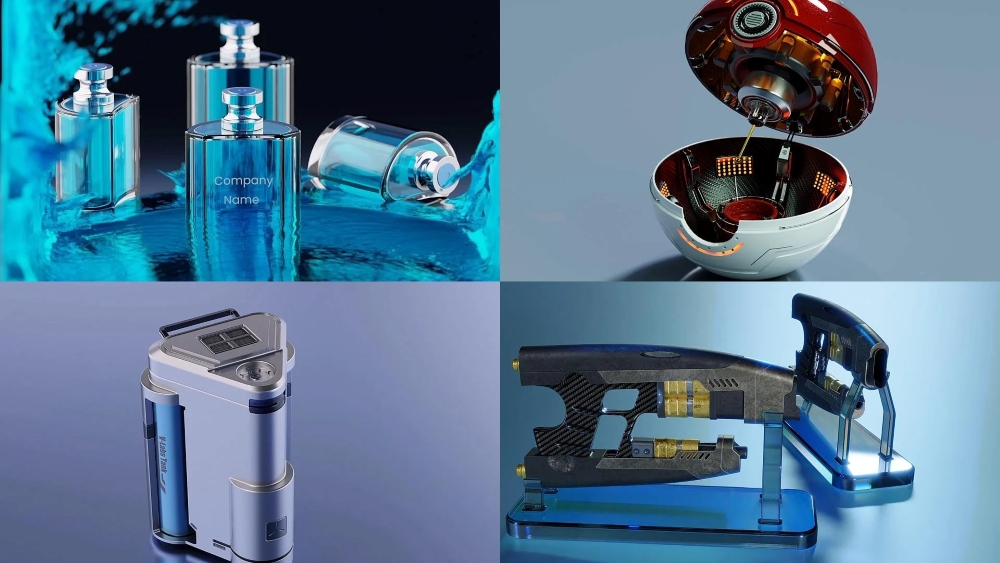
Plasticity: CAD for Artists
Back in 2023, I listed a program called Plasticity as one of the best that year, but for the life of me, I can’t explain why I have not since written a full review. So, I’ll make up for it now!
Plasticity is a NURBS-based modeler, which in the VFX industry has been supplanted by poly-based modeling for some time now. But when we step outside of our myopic bubble, we find that NURBS is still alive and well in other industries, like CAD design, engineering, manufacturing, architecture, etc. Basically, all industries other than VFX, animation and games.
Plasticity is new to the world, coming from beta in 2022 and released in mid-2023. It brings the power of NURBs but incorporates poly-modeling workflows that are familiar to our industry. So the transition is less abrupt than if you were jumping into Rhino3D, Solidworks or Fusion 360. That said, the Parasolid and xNURB algorithms found in the “higher-end” CAD programs are the same ones in the studio version of Plasticity, at a far better cost.
The interface is pared down to just the tools you need, with pop-ups that walk you through certain tasks. An example is using a curve to cut through an object. You select the curve, click C and the pop-up tells you to select the object you want to cut. And once done, you click “OK” or “Enter” or right click to apply the procedure. This keeps the workspace clean — and informative. Additionally, Plasticity is really responsive. Even when your model gets complex, the UX remains spry.
The workflow does take a little getting used to, but I think people migrating from CAD programs will find it familiar — and for people coming from VFX, gaming and animation, the learning curve isn’t dauntingly steep. I got into the flow of the UI within a half hour.
I’m definitely going to play around with this more because I love the results, and frankly, the ease of getting those results. Fillets, chamfers and Booleans are super clean and adjustable. Once you get the hang of it, it’s straightforward to blast out complex shapes. I would, however, like to see more exporting options like Alembic or FBX files. Since Plasticity is more geared toward design and manufacturing, the interconnectivity with visual effects isn’t the smoothest. But there are steps being taken to fix that. There is already a Blender add-on specifically designed to get models from Plasticity into the Blender environment.
The price point for entry is quite low. $150 for the indie package and $300 for the studio package. The purchase is a perpetual license — with yearly maintenance fees. So, you pay the cost, and you have it forever, unless you want the latest fancy tools, at which point you’d have to pay for a license upgrade. At these prices, if you are making models for money, you should be able to keep your license up to date.
Website: plasticity.xyz
Price: $150 (indie); $300 (studio)

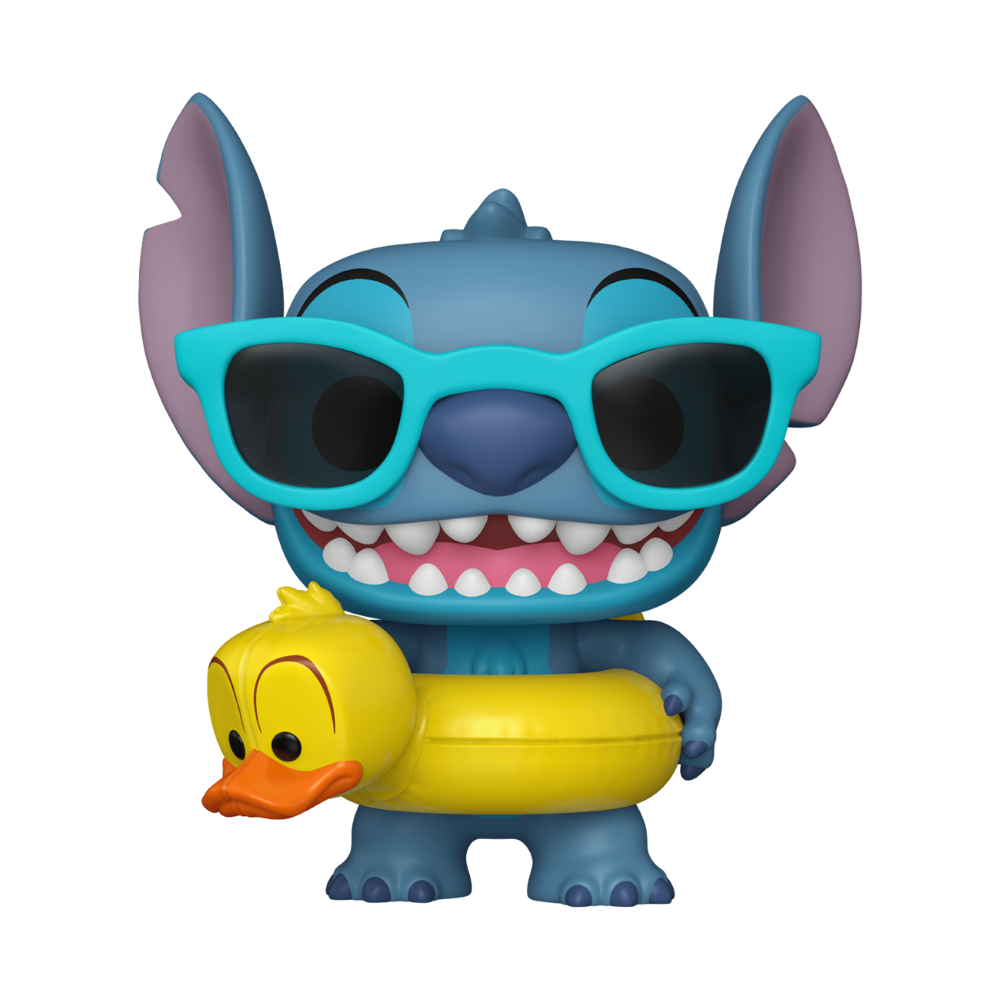 Win a Funko X Lilo & Stitch Prize Pack!