


Allegorithimic’s Substance Painter
Allegorithmic released its latest version of both Substance Painter and Designer, making a great thing even greater. I like to say they’ve taken the industry by storm, but that would imply that they showed up yesterday. In fact, they’ve been around, digging in a serious foothold into the 3D industries — especially gaming, which Substance’s Physically-Based Rendering workflow just fit into like a key in a lock. But the developers at Allegorithmic are agile, frequently pushing out new features and, most importantly, listening to their current users — and the users that want to be users (especially those artists working in the vfx industry). All of the advances, however, are meant to make better tools for all who use them. I’ll start here with Substance Painter, even though it has inherited some of the tech from Designer.
First and foremost, Substance Painter has gone through a dramatic UX facelift. In looking at how their user base is frequently working on tablets, the developers realized the locked UI of the past wasn’t going to work. Artists don’t like to have their limited workspace cluttered up with menus and palettes. From that, we now have a malleable interface that is completely customizable. You have docking palettes to the sides or top and bottom to suit your needs. But most important, the palettes will fold up on the right side of the screen into little icons (very reminiscent of the latest Illustrator), clearing up your work area for creative stuff. Furthermore, within your palettes are embedded icons that represent different aspects of the shader, brush, tool, etc. You can still scroll down through everything, but the buttons will take you directly to that section that you want to modify. I can certainly think of some other software that could take this as a hint. I can’t even express how much more intuitive the new interface feels.
But UX isn’t everything — we got to have some new functionality, which Substance Painter does. Here is a quick overview: Texture Sets don’t have to be activated through menus anymore — you can click in the mesh in the viewport with modifier keys and activate your current texture set. Painting across UV sets used to cause some seams, which is now mitigated with some procedural blurring to help with the transition. Layers can be instanced so that you can tie modifications together without having to change them in every shader in the scene. (Although, a nodal view would be great!) There is also a new tiling tool to generate tiled textures, and a slew of procedural noises as well as a 3D gradient system — that I’ll talk more about in the Designer review.
Website: allegorithmic.com/products/substance-painter
Price: $19.90 monthly (indie license), $990 yearly (pro license), free one-year personal license for students and teachers.
Allegorithmic’s Substance Designer
Substance Designer didn’t necessarily have the overhaul that Painter did, but that’s understandable. Designer is really the “developer” side of the Allegorithmic suite. You use Designer to build the paint brushes that artists then use in Painter to make art. There aren’t a lot of folks building Substances on their Surface Pro — that’s why real estate optimization wasn’t forefront. However, underneath the UI, a broad rewrite has taken place to optimize performance as well as cache and memory utilization. You should witness a noticeable boost in the response as you adjust parameters and build your Substance.
A very big deal in the new Designer is proper UDIM support, which we vfx guys have been foaming at the mouth for ever since the software came out. It is not fully formed, and the functionality hasn’t quite migrated over to Painter, but it’s there, functional and productive. You can now import a model with UDIM UV sets and Designer will recognize it and double check if you want to be in that mode. You can then do your baked maps to all of the UDIMs accompanied by a preview window as the UDIMs bake — just so you can check to make sure they are feelin’ right. In the viewport, you can’t view all the UDIMs at the same time, so you do have to explicitly switch to the ones you want to see. A bit of a pain, but I suspect only temporary. Your Substances can affect either all of the UDIMs, or you can limit the effect to specific UDIMs. And then you can batch export to all the UDIM tiles.
Some new tools that did migrate over to Painter include a 3D procedural noise library with four new noise types and a 3D gradient that can use the baked position map to determine the spatial range across the model, using a color picker to choose. The position map, when used in Painter, can be per texture set or for the world space around the whole model. There is also a 3D volume mask which works in a similar way, using the position or UV map data to place the volume. This work as well with a 3D planar map that you can project through the UVs, or if you need the projection to cross over unmatched UDIMs, you can use a combination of the position and normal maps to position the projection, spanning the tiles.
Overall, there is lots of good stuff, and for the price — especially for all of you indie guys out there ($20 monthly) — it pays to incorporate it into your 3D workflow. C’mon; everyone’s doing it!
Website: allegorithmic.com/products/substance-designer
Price: $19.90 monthly (indie license), $990 yearly (pro license), free one-year personal license for students and teachers.
ViewSonic’s VP2785-4K Monitor
Last month I went over the ViewSonic VP3881 38” curved monitor, and while I love it to death, we are taking a look at its 27” sibling, the VP2785-4K monitor. It’s not wide-screen, and it’s not curved, but that doesn’t take away from the pluses.
First and most important, I have to mention the color. For photography, design and film grading, color is key. And without going into the color science of everything, I’ll say that the VP2785 covers what you will need in your workflow. With a 100% standard Red Green Blue gamut cover, 99% Adobe RGB coverage and 96% DCI-P3, sitting in a 14-bit color space, you have access to nearly all your range for the photographers out there, and Rec. 709 for the filmmakers. Each of the color profiles can be accessed through the monitor’s menu along with some custom slots if you are working outside of the mainstream. The monitor has been factory-calibrated for you, but you can keep it in line with any number of hardware calibrators, including ViewSonic’s own “Colorbration” kit.
Then there is the resolution. The 27” size is jammed with 4K worth of pixels. And mind you, that’s not 4,000 pixels — we are talking over 8 million pixels, which results in a crisp, clear image with a 14ms refresh. We older pros with failing eyesight have to do a bit of CTRL ”plus”ing to increase our icons and such, because at that resolution, some things can look miniscule. But when working with imagery, that clarity and fine detail is essential.
But enough about all that technical stuff. The monitor is lightweight, sleek, and looks good on your desk. It has an anti-glare coating on the screen reducing reflections. There is a little sensor checking out the lighting in the room and driving the backlight to adjust the brightness based on the viewing conditions. The bezel is nearly non-existent, so it doesn’t take up valuable space that could be showing pretty pixels. And the back is chock full of inputs like DisplayPorts, MiniDPs, USBs. USB-C and HDMI all ready for HDR10 support. You can also split up your screen with some PIP from different sources — in case you want to stream Netflix while you are editing your own film. (Not that I would ever do that!)
Website: viewsonic.com/us/vp2785-4k.html
Price: $989.99
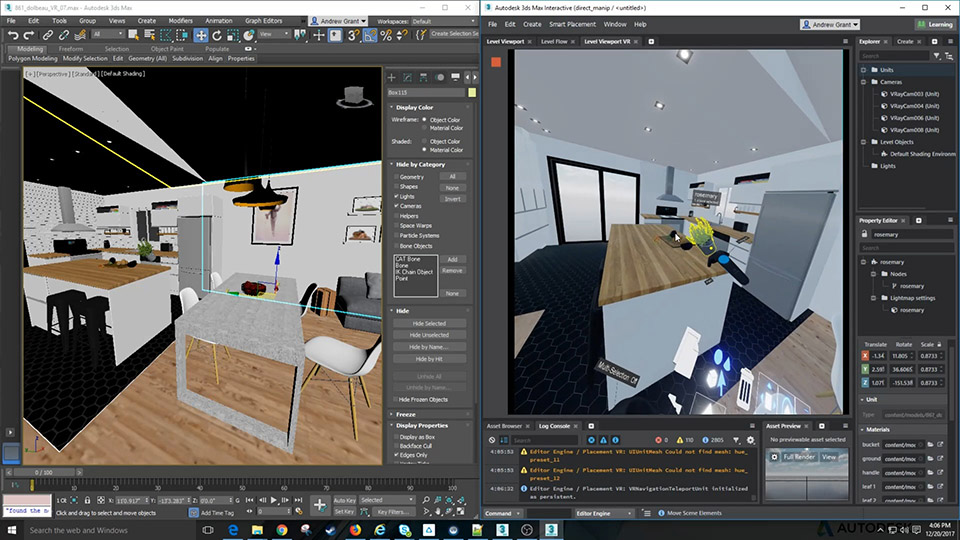
Autodesk’s 3ds Max 2019
I could go through the laundry list of updates in 3ds Max 2019, and all of them are cool. There are some project management tools, some new spline Booleans that are pretty sweet, and some cool tools for VR developers. Bifrost incorporation is super cool (which I mentioned in my last review of 2018) with an intermediate subscription release. But by far, the sexiest component of Autodesk’s modeling and rendering software is the implementation of the Open Shading Language —or OSL shaders for those in the know.
OSL was developed by the smart people over at Sony Pictures Imageworks to be incorporated into their render engine of choice: Arnold Renderer — which, by the way, is now part of the Autodesk family, and can be used in both Maya and Max. This language is an open source programming language to define materials, lights, displacement, etc., and it’s pretty much implemented into most advanced render engines.
The 3ds Max rendering team has built around 100 OSL shaders for us to use right away. A veritable cornucopia of not only preset shaders like “candy” (a bunch of random dots), checkerboard, Mandelbrot, a few noises, etc., but also a slew of utility tools to analyze value from your scene, scalar and vector math operations, switchers and everything you need to put together complex shader networks. A number of UVW tools allow you to generate UV maps (or STMaps if you come from Nuke), to dynamically drive UV mapping in the shader rather than the model (not that you shouldn’t have UVs in the model). This setup allows you to do fancy things like perturb the map for interesting, organic modifications to your maps. Furthermore, there is a Randomized Bitmaps function that will take multiple source images and distribute them across your surface or objects using the same shader.
Yet, just having a library of shaders isn’t the best part. Because OSL is open source, people are creating new shaders every day and posting them up for others to use. In addition, for each shader, you can dive into the code of the shader and modify it to your own purposes. The OSL syntax is completely readable and relatively simple to get started with. Each prebuilt shader is another window into examples of how to do put shaders together. You have access to the code, can modify it, save to a new shader, or even have the new version simply live in the Max file you are working in.
To be clear, shading languages are nothing new. Pixar’s RenderMan has been driven by its own language (and now includes OSL as well) for decades. But I think a generation of 3D artists has become complacent because all of our shaders for each render engine is/was a black box that needed to be compiled to work. Shader programming is a daunting prospect to consider. I think that OSL implementation is the next phase of designing shaders, and its accessibility will have a huge impact on future shader developers. I’m so happy that Autodesk has seamlessly integrated the language into the Max workflow.
Website: autodesk.com/products/3ds-max
Price: Free for students for three years; $1,505 per year; $2,095 (entertainment collection); $2,755 (architecture, engineering, construction); $2,525 (product design, manufacturing)
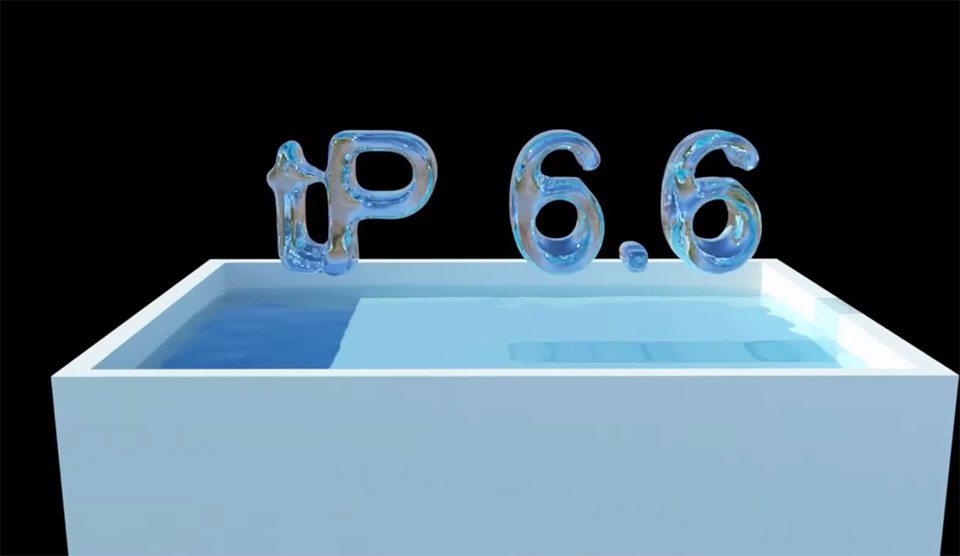
Cebas’ thinkingParticles 6.6
The geniuses at Cebas dropped another version of thinkingParticles for their subscribers earlier this year, bringing them up to 6.6. Their previous releases have been taking leaps and bounds as they incorporate really complex and aggressive advances into the already powerful “particle system.” (I’m using quotes because “particle system” really doesn’t do it justice!) With rigid body simulations, fractures, SPH fluid solvers, bullet solvers, and yes, particles, you can’t really pigeonhole thinkingParticles into such a small box, because doing so reduces its power.
In this latest version, Cebas has implemented some powerful nodes — most of which are pretty math-y, which are there for analyzing and manipulating scene and particle information. There are things like Sum Helper, which is one node to combine a bunch of similar type of values, some additional math helpers for UX reasons, as well as adding in more conversions like Degrees to Radians and vice versa —and calculating vector collisions. (See? Math-y!)
One critical addition is an Initial State which allows you to save a pre-roll result to a state so that you don’t have to recalculate that pre-roll every time the simulation is run. And these pre-rolls can frequently be substantial, both in duration and complexity.
A super cool addition is the Turbulence node, which is highly controllable and contained within the one node rather than having to build from multiple nodes. There’s also flow — TP’s SPH Solver is faster, more stable and has better interactivity with Rigid bodies that you make have the in the simulation.
But the most powerful feature set is the library of seven nodes for the All Purpose Fields. For years, fx artists have designed cool particle movements through a collection of different forces, which quickly add up to a web work of nodes to get a particular look — frequent hard to direct and harder to replicate. The APF nodes control vector fields within a volume (like a fluids volume), using math operators as well an analysis operators to drive the movement of particles. Artists familiar with FumeFX from Sitni Sati or Thinkbox Software’s Stoke (or possibly Scanline VFX’s Flowline) will be familiar with the idea of manipulating particles with forces with a volume. The difference is that with APF, you don’t have to leave the ecosystem of thinkingParticles. Also, the more integrated the workflow is, the more efficient the process becomes. But, just in case you have other tools you need to use — like Houdini for instance: the APF solutions can export to OpenVDB files , or if you have generated them from Houdini, those OpenVDB files can be brought into TP as driving forces. This is such powerful stuff, despite the fact that it’s a bit intimidating to dive in to build a force system from scratch. Houdini users will empathize.
Overall, thinkingParticles keeps getting more robust in each drop. I’m certainly looking forward to the next one!
Website: cebas.com
Price: $55 per month; $660 annual subscription


